Friday, February 28, 2014

Quick "Fix": Sweatpants

Ok, so I slipped a quick "fix" project in today even though my son and I spent most of the afternoon playing with Legos ;)

I'd seen Cotton & Curls' sweatpants refashion back in December and knew that I'd be doing this with a pair of sweats...but I didn't actually own a pair! Well, I found this pair at the end of January for $2 and could see they'd be just a tad big, so they'd be perfect for this refashion.

The previous owner had hemmed them up, and to get them to the length I wanted I just chopped them off above that hem.

Next, I put them on inside out, marked out how much to take in and then sewed up each outside leg. You can see here how much I took in. All that excess got the chop!

Then, I grabbed a couple of lengths of elastic that in a previous life were the straps that clip onto stockings from a garter belt. I gathered the outer sides of the legs, then pinned the elastic in place and sewed it down, stretching it as I went. I didn't even hem these as they roll under and I was just looking for a quick fix.

And here's how they turned out! Much cuter now for lounging around the apartment :)

Oh, and this is one of the Lego sets we were working on ;)

Peace,
Andrea

Thursday, February 27, 2014

Update: Tartan Refashion

So, after wearing my new tartan skirt yesterday around the house, the fact that I'd need to insert a zipper became more and more apparent. The waist was moving around a bit on me and I eventually rolled it down, twice, so that it would stop! Basically I'd left it big enough to squeeze over my hips, but as the fabric doesn't have that much stretch, it definitely required some taking in and zipper action.

Here's how it looks now:
This zipper was salvaged from another skirt that I refashioned into a top, found here
Zippers are definitely one of the things I'm challenging myself to master this year (sooner rather than later). Unfortunately, my tendency is to just wing it instead of checking out the amazingly helpful tutorials that are out there. So, my topstitching is a little bit not straight ;) but, it lays flat and to me, it looks pretty good! Haha, perhaps my standards are too low?

And here it is on:
Can you tell I need a haircut?! Maybe I should ask my husband to do it ;) ("funny" story there (read: tragic at the time), but I'll save that for another day).

Wearing it with that same t-shirt I had on yesterday...which I may have worn to bed and may still have on now. But let's pretend that I threw it back on for continuity's sake, ok? Thanks!

Way better fit in the waist now, and fit really is everything as it makes me feel confident that I look good wearing it!

Now, as I am recovering from a lovely migraine, I will get back to just lying here useless on the couch while my son wreaks havoc on our apartment :).

Peace,
Andrea

Tuesday, February 25, 2014

Tartan Refashion

I posted this picture yesterday as a teaser of the next piece I would be refashioning. I was able to finish half of the project yesterday, and finished the rest today! And then I had to take photos, make photo collages, and write this post ;) all while my son is bouncing off the walls with the endless energy that only the young possess...good times!
Hotness! What ever shall I do with all that plaid?

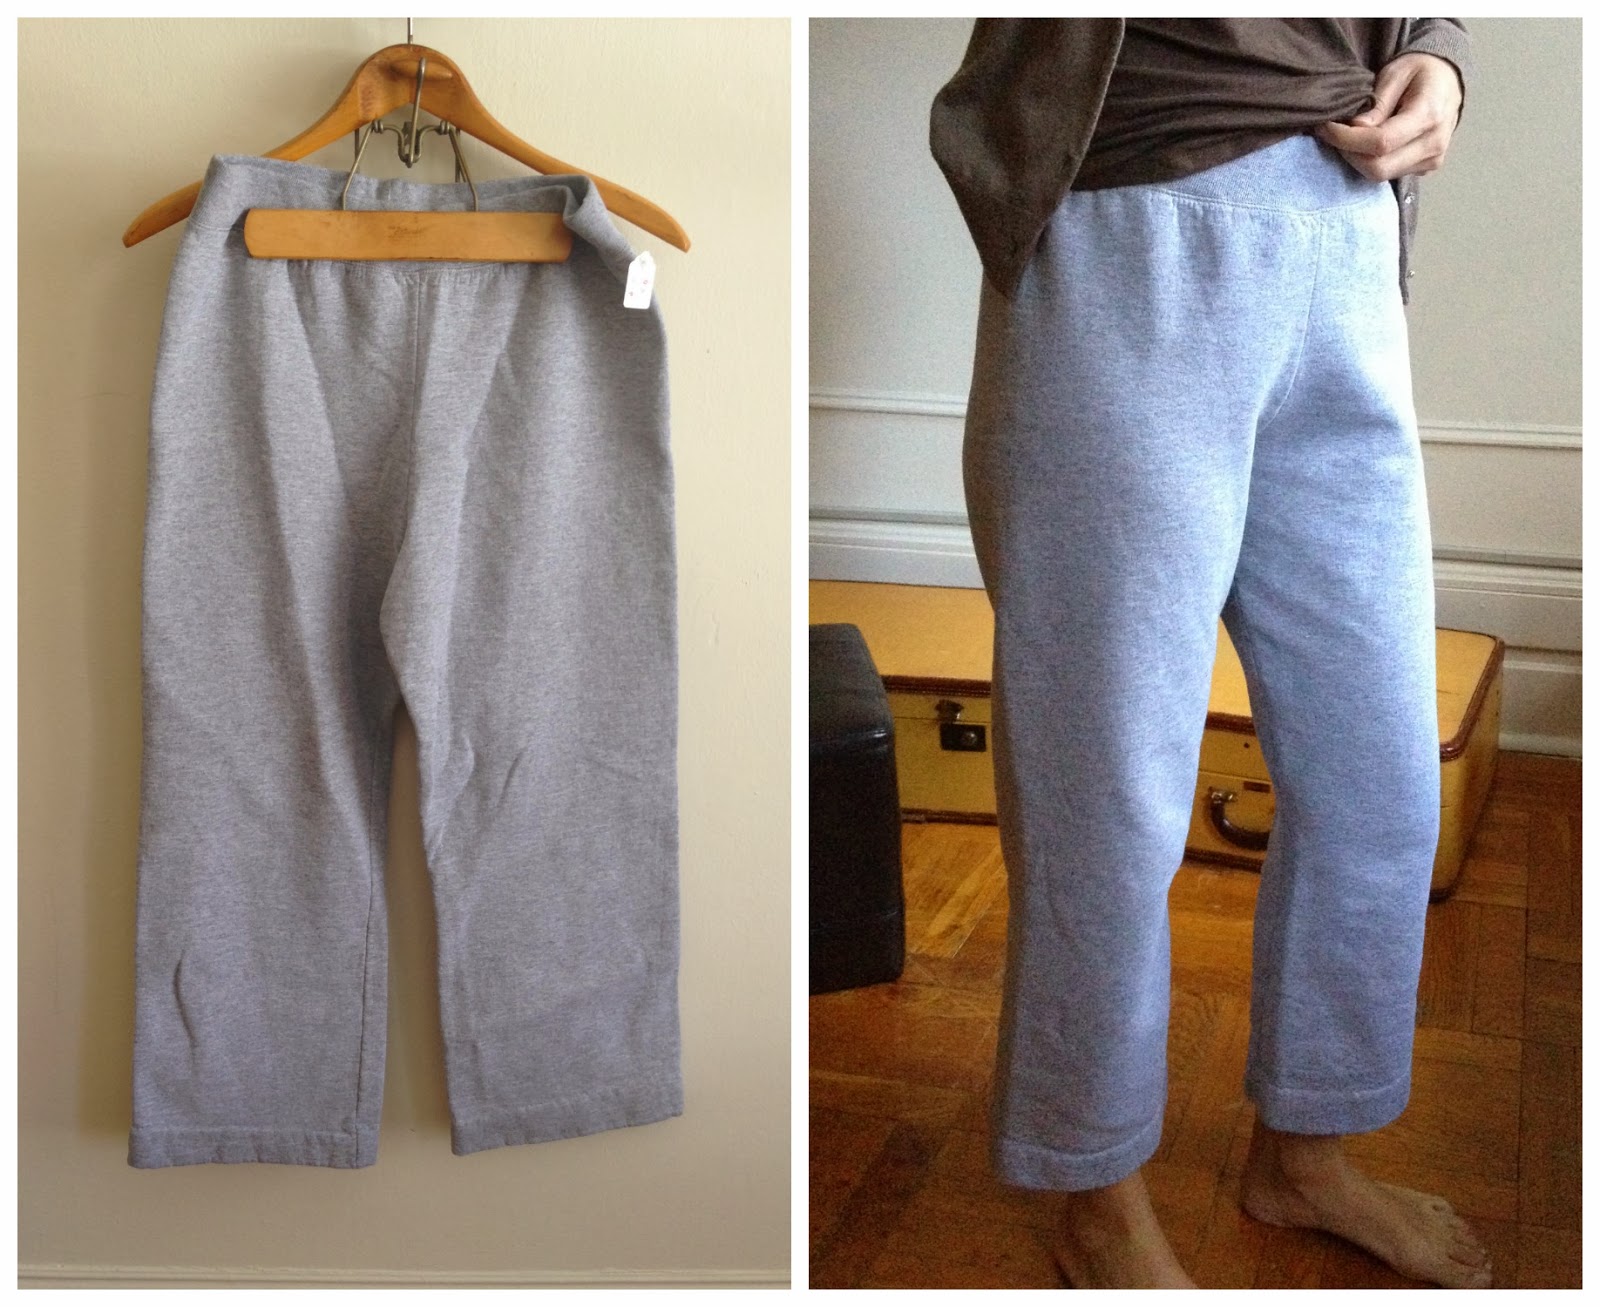
So, I found these pants in my last thrifting spree for $2 (half off day). They are a heavy polyester knit that holds its shape really well and at size 20, I had lots of wiggle room to transform these into some pretty cool pieces (even if I do say so myself).

There was a tiny hole in the back seam and the crotch was looking pretty worn. I made one chop across both legs and unpicked the crotch seam.

As you can see, the chop was about 4-5 inches below the crotch. My next step was to open up the waistband and pull out the old elastic.

Then, I tried on the top part inside out and pinned it where I'd need to take it in...this will become a skirt! I sewed up each side as well as where I'd pinned the now open crotch.

However, when I turned it right side out, the seam up the front and back of the skirt left the pattern lining up a little crooked, so I ended up unpicking the entire waistband to remove it. Next, I unpicked the front and back seams, repinned them so that the seams would look cleaner, and resewed everything up, finishing the raw edges with a zigzag stitch.

Finally, I shortened the waistband, inserted elastic to fit my waist and reattached it to my skirt. I also hemmed this skirt using a blind hem stitch :). Second time doing it and I'm so stoked that I'm keeping my resolution of learning more techniques!

Here's how my skirt turned out:

I will wear this most often, pretty casually. In spring I'll throw on flats and a jacket, but for now, I'll be wearing this with fleece-lined tights, boots and a cozy sweater. Another option is this white button-down that I refashioned a couple of years back. Its a copycat of Charity Shop Chic's copycat of a top Sarah Jessica Parker wore on Sex In The City. Hop on over here to see how she did it (she's such an amazing seamstress/refashioner!!! Can you tell I'm a big fan?). I made mine with the neckline a little higher so that I didn't necessarily have to wear a cami under it. I posted briefly about it on Refashion Co-op here.
Need to do a couple of alterations on this as I've since lost some chest post-baby and it gapes at the neckline :).

Love it! Okay, for the next piece, I took the two legs and turned one inside out. I put the right side out leg inside the other and sewed around the raw edges, right sides together. Ha, do you understand that? Should have taken a pic ;). Anywho, this left me with a long tube once I turned everything right side out. The pattern didn't line up, but I'm not too worried about that as this section will not show. I grabbed the scrap section of waistband that I'd previously removed as well as a piece from a pair of suspenders that I thrifted for the use of the silk shoulder bands (which, btw, remain unused in my tin of scraps...gotta get on that!).

I folded the waistband scrap and topstitched along each side to create a band that I then looped through the suspender piece and sewed in place close to the seam previously created.

Once that was complete, I started rifling through my buttons trying to decide what color, size, and style would look best. I decided to choose a pair that matched the hardware on the suspenders and a little smaller because I didn't want the buttons to overpower the other details.

After sewing the buttons in place (I gauged where they would be placed by wrapping this around my neck and pinning where I would want them) my new cowl scarf was complete! I adore it with my 'new' navy pea coat that I found this winter for $4. The material is actually great because it holds its shape and I can arrange it just so and it stays that way :). I can just pull this right over my head, throw on my coat and be ready to go...no need for fiddling with little buttons.

Again, love this! It's a little bit preppy with the navy pea coat, but I can't wait to pair it with my black faux leather jacket once the true thaw begins around here for an edgier look. And guess what!? I still have some of these pants left in the scraps from the skirt, but also from the scarf because it was a bit long and I shortened it by at least 8-9 inches (and that doesn't include the hem of the one leg!) Soooo, I'll have one more piece out of this yet! But for now, I'm taking a break from all of the tartan print to do a few alterations on that white top.

Here's one last look at the before and afters!


Hope you like this one...or two. I sure do :).

Peace,
Andrea

Monday, February 24, 2014

A Tartan Teaser

Just a before on my current refashion project! These plaid/tartan pants that I scored at the thrift store for $2...
Tons of fabric here! Score!!! 

And I'm making them into at least 2 pieces :) Can you guess what they'll be? Give it a try...

Peace,
Andrea

Saturday, February 22, 2014

February Thrift Scores

As I did at the end of January, I'll be sharing my thrift scores for the month of February...and I'll do so every month as long as I've done some thrifting (which is almost certain that I shall!). Sometimes I find things that I like 'as-is' and simply incorporate them into my wardrobe after a good wash. Other things run along the lines of sewing notions, tins/boxes for organizing said notions, jewelry, or other kitchen/household items. And then there are the items that anyone in their right mind would leave hanging on the rack ;). Those are often the BEST items to grab up as a refashioner, because the possibilities for rescuing and completely transforming such pieces is infinite! And its always fun to see the reactions on peoples' faces as they ring you up, watch you try things on, or drag another bag of 'ugly' clothes into the apartment (in my husband's case). Yay ugly clothes! I.just.LOVE.them. (And other refashioners will agree.)

*****Disclaimer...not all refashioned clothing starts out 'ugly'! Often, it is just no longer of use in its current state and therefore heads to the chopping block. Many times, these items have A LOT going for them and just need to be reworked.*****

Okay, let's get down to business. This haul actually includes a few things that I got at the end of January, after I'd already posted my score. So, not wanting to leave these things out, I'm showing you here what I found then as well. In this first set, I've got 2 yards of bright pink fabric (used in the fabric ABCs here), a looooong length of lace curtain/valance, a black and gold lace doily, another piece of lace trim, a small piece of pink floral fabric, 2 stretchy bands (used for wrapping injured joints but also can be used in sewing) and a rose seed bead ring and earrings from Spain.
$8.25 for all of the fabric/lace: 1/2 off=$4.13 (they threw the elastic bands for free). The jewelry was $9: 1/2 off=$4.50. 

Next, I found two pairs of pantyhose, brand new in the packages in navy and champagne, as well as a necklace and simple silver bangle.
Pantyhose $2 apiece: 1/2 off=$2 total. The necklace was $6 and the bangle was $1: 1/2 off=$3.50.

I also came across a wooden box and an oval-shaped tin with lid and handles for storage. Inside you see I scored 9 rolls of metallic thread (3 different colors I can thread in with my yarns as I knit), mini star cookie cutters and wire baskets. Then I found a bag of buttons and a couple more pants/skirts hangers.
The box was $4, tin $2, thread $1/apiece, wire baskets $2, cookie cutters $1: 1/2 off=$9. The buttons were $1 and the hangers $.25/apiece: 1/2 off=$.75


Now on to the clothes! This plum sweater is actually the exact copy of one I found here a few months back only a different color and size. Love the other one so much, that I had to snatch this one up :). It will stay 'as-is'. And then I found an old grandpa sweater...yeah...its wool and the tags are all in Japanese and I'm not sure what I'll do with it but for some reason, I had to have it. Weird! Ok, and the third piece is a brown shoulder-padded jacket a la 80's...it will be refashioned!!!
These were $4 each: 1/2 off=$6. 

And now some whites. I totally see myself refashioning all three of these pieces, though the first one, a silk crop wrap top could be worn as it is...not sure on that one. The middle white top has pretty detailing around the neck and sleeves and the last is a white t-shirt that will just be downsized to be more fitted.
These were $5 each: 1/2 off=$7.50. 

Next I saw this blush lace tank that I think will be so pretty over a nude/ivory/white cami. The middle is a shirt dress sans sash (easy fix) that I may or may not do something to with the sleeves. Otherwise, it fits perfectly and the blue pinstripe is just my style :). Then, the gray sweats are a definite refashion (most likely a copycat of something I saw not long ago!).
They were $4, $5, and $3 respectively: 1/2 off=$6 

 Okay. This next piece needs very little introduction. I mean, just look at these babies!!! Holy plaid pants that are several sizes too big! I think I can get a few refashions out of these and I'm excited because I like plaid in small doses and this is not at all a small dose. Some people can pull off the whole 'plaid thing', but I'm not sure that's me. So, I'm thinking accessories...you dig?
At only $4, I would have bought these full price! But they were 1/2 off at $2 :-). AND I definitely got the 'looks' with these as I was checking out. LOL!

All told, this score cost me $45.38 (darn those $.25 items that don't divide in half evenly). I'm particularly excited about the clothes to be refashioned, OBVIOUSLY, because that is where my creativity is sparked. Oh, and the buttons! But, as I am in the midst of taking an inventory of my stash as well as organizing my space so that cleaning up is much easier to do, I'm also pretty stoked about the box, tin and wire baskets ;). Hopefully I'll be able to do a post on my space this next month after I get it all figured out! I'll be working on tips for organization and decoration when your creative space doubles as living space. And in the meantime, more refashions are in the works! Hope you stick around to see more...

Peace,
Andrea

Friday, February 21, 2014

Some alterations...

It's a cold, rainy, very gray day today...bleh :-/ Not great for taking pictures and not very inspiring in the way of refashioning creativity. So, I'm mending and altering and I've come up with  a way of inserting a smidge of detail into an otherwise pretty basic fix.

I don't have a before picture of these leggings (for running), but I'd ordered two pairs online in medium and they were just too big and kept sliding down on my hips. So, all I did was turn them inside out and sew up each outer leg seam (from the waistline to the ankle), taking them in about an inch on each leg. I decided not to trim off the excess, simply folding it to one side. Then, I picked out a decorative stitch on my machine and using a contrasting thread, sewed up each side seam (adding strength to the alteration, as well) to give some detail. Here's a closeup of the stitching and a full-length shot:
I chose gray in this instance.

Now, I've also got a pair of blue leggings to add this same detail to, but I'm undecided on which contrasting thread to use. So you get to help me decide! :-) I've pulled bright orange, bright pink, and aqua:
Which should I choose???
Let me know which you like best :), pretty please?

I also had to take my favorite pair of skinny jeans in at the waist...again. :-0! So, the original darts that I'd done are the ones closer to the middle belt loop, and the new ones are spaced out evenly towards the side belt loops. A super easy alteration and probably one that most women need to do (are have done) to their jeans. All you do is pinch in the amount to be taking in, mark it or pin it and then sew a line 1-2 inches long down from the waist out at an angle and then press so that they lay flat.

I also took a pair of my husband's running pants in (not to be pictured here) by two whole sizes. AND I've got a ton of buttons to sew back on and more pants to take in and a whole pile of t-shirts to turn into clothes and pjs for my son...well, the sewing inbox is definitely full, and I've got time on my hands! So, back to it ;) 

Peace,
Andrea

Wednesday, February 19, 2014

Leggings to Socks!

Remember these leggings I got for $1 at the end of January?

Yeah, they didn't fit so well in the waist...so I started playing around to see what my options could be for a refashion as I don't necessarily need another pair of leggings. The button detail is why I grabbed them in the first place, so I thought, "How about fingerless gloves...or somehow making the legs into sleeves?"

Which led me to try them on as a shrug...then cut out the crotch to see if I'd like it as a cropped sweater...

Not so much (though, I have seen this done and it was super cool!). I decided that I liked the button detail as the top of some boot socks :). So I measured how long I wanted them to be, sewed a sock shape, and cut away the remainder of the leggings...to be used in some future project, perhaps.

And then I got to trying them out as thigh-highs with a dress and oxford heels...or as boot socks over some skinny jeans with riding boots.

And I can even just wear them as I lounge around the house in my p.j. shorts! :) But I'll wear them most often as boot socks. This was crazy easy and quick...just the kind of project I needed today as all of the other sewing I'm doing is mending and alterations. Both of which are necessary, but also really cool because I'm taking things in after both my husband and I have lost some excess weight...and I'm pretty sure the clothes were a bit too big in the first place ;).

One last before and after shot!

Peace,
Andrea

Monday, February 17, 2014

A Basic & A Bonus No-Sew Refashion!

Today's refashions are a mixture of summer and winter (does that mean they'll be perfect for spring and fall?). I started out with this sweatshirt that I'd thrifted this past fall. I grabbed it and bought it without trying it on because I knew that it would fit and it looked comfy. But then I put it on...

Can we say preppy, much? A little too much for me ;). So, it sat and sat until I could decide on what to do with it. I've been browsing my refashion ideas on Pinterest and seeing a low-backed fitted t-shirt gave me an idea. I started by unpicking the collar, then cutting away the "front" of the sweater and a part of the "back" neckline. Yep, I'll be turning this backwards...go figure!

I took the collar, folded it in half and cut out a section long enough to reach across the low-backed gap.

I then cut it down to about a 2-inch thickness, folded over each raw edge and stitched across the length several times to create a band. I then attached this at each side to the top by the shoulders.

After trying it on, I realized that the band was way too long, so I unpicked one side, shortened it and sewed it back in place...much better!

I trimmed up the neckline a bit to smooth things out and left the edges raw. Now I can wear my cozy sweatshirt up on my shoulders, or pull it down a bit to show them off ;).

Easy-peasy kind of top for a day spent at home...

or, I can pull out a pretty dress (thrifted!!!) and see how combining the two can glam up this basic piece.

First things first, for this to work, the neckline of said dress must fit over your hips/butt. Ok, so here's how I turned my dress into a skirt! (This is the bonus no-sew refashion, btw.) I took the top portion of the dress and folded it to the inside; because this isn't clingy, any extra volume doesn't really show! Tucked my new sweatshirt in and with the addition of a statement necklace and heels, this sweatshirt is now date worthy!

I love how the varying shades of pink in the necklace match the dress! And this way I can still show a little back ;) But wait, adding a slip between the "skirt" and folded down top also helps to hide any weird lines/bumps that may be caused...shapewear could work too.

Because I was was loving wearing a pretty dress, I decided to style it as a top instead: just add a matching maxi skirt! Again, the flow of the maxi allows for the dress' skirt to lay underneath without being obvious.

And then I figured the maxi would look amazing with the sweater! And a neon pink necklace? Of course!

Or, how about dressing up that sweatshirt one more way?! Just paired it with my harem pants refashioned in January for another cozy but cool look! (I'm wearing heeled sandals, but this would be oh so cute with black booties...just don't have a pair!) Oh, and in case you don't quite understand the "partial tuck" or why its done, this picture shows why I love it so much. Tucking the whole sweatshirt in doesn't work for where these pants should be worn on my waist, but by tucking just the front, it gives me the length in the top that I want while showing the waist detail of the pants that helps to break up the outfit :).
Really happy with how this came out, loving the flexibility of casual pieces like this to be worn in more dressy situations, and even though it was only for the photos, I totally loved wearing heels again! Hahaha, need to make it a priority to go latin dancing with my husband at least once a month :) Keep me accountable? :) Thanks!

Here's one last look at the before and after:


Peace,
Andrea